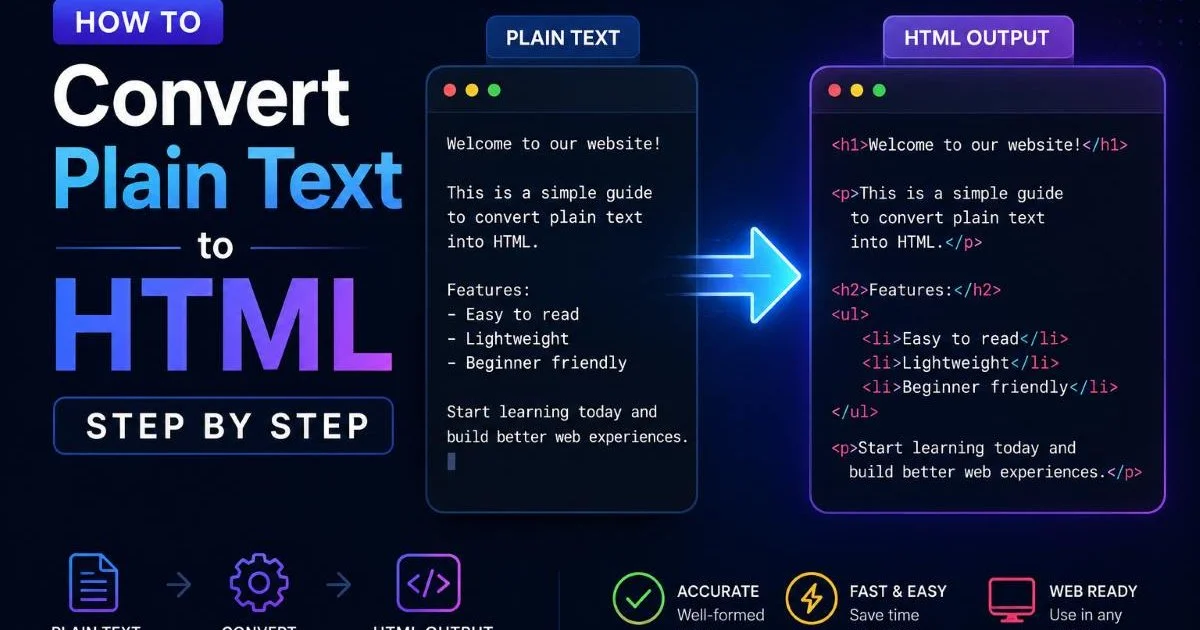
Learning how to convert plain text to HTML step by step is one of the most practical skills any web developer or content creator can build. Whether you're migrating blog posts from a CMS, formatting documentation, or preparing email templates, the ability to transform raw text into structured markup determines how your content looks, performs, and ranks.
Poor conversion leads to broken layouts, accessibility failures, and SEO penalties. A methodical approach, on the other hand, produces clean, semantic HTML that browsers render consistently and search engines reward.
This guide walks you through four concrete steps, from analyzing your source text to validating your final output. By the end, you'll have a repeatable workflow that saves hours and eliminates guesswork. If you've ever stared at a wall of unformatted text wondering where to start, this tutorial is for you.
Key Takeaways
- Analyze your plain text structure before writing a single HTML tag.
- Use semantic HTML elements like headings, lists, and blockquotes for meaning, not just appearance.
- Automate repetitive text to markup conversion with AI tools when processing bulk content.
- Validate your output against W3C standards to catch errors early.
- Consistent HTML formatting improves accessibility, SEO performance, and cross-browser rendering.
Step 1: Analyze Your Plain Text Source
Identify Content Hierarchy
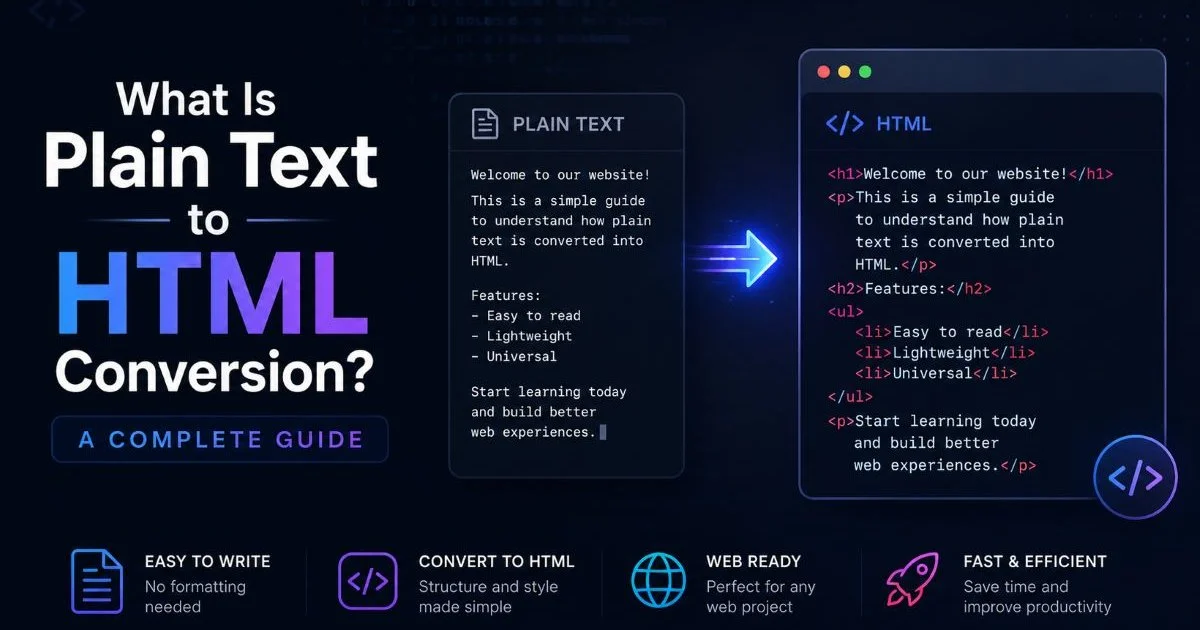
Before you touch any code, read through your plain text document and identify its natural structure. Look for titles, subtitles, and section breaks. Lines in all caps or bold formatting hints often signal headings. Paragraphs separated by double line breaks are self-evident, but single line breaks can be ambiguous, sometimes they represent soft wraps, sometimes intentional breaks within a list. A thorough understanding of plain text to HTML conversion starts right here, with careful analysis of the source material.
Mark up your text document with annotations before converting anything. You can use simple comments like "[H2]" or "[UL]" next to each section. This pre-processing step takes five minutes but prevents thirty minutes of rework later. Think of it as creating a blueprint. Architects don't start pouring concrete without drawings, and you shouldn't start writing tags without a content map.
Pay special attention to content that spans multiple formats. A plain text file might contain a paragraph followed by a numbered list, then a quote, then another paragraph. Identifying these transitions now means your HTML structure will mirror the author's original intent. At the end of this step, you should have a fully annotated text file where every block of content has a designated HTML element type.
Print your plain text and use colored highlighters for different element types: yellow for headings, green for lists, blue for quotes.
Spot Lists, Quotes, and Data
Lists are the most commonly misidentified elements in plain text. Lines starting with dashes, asterisks, or numbers are obvious candidates, but sometimes lists hide inside paragraphs. If a sentence says "The three benefits are speed, accuracy, and consistency," that could become an unordered list in HTML for better readability. Similarly, any text preceded by attribution ("According to...") or indented text likely deserves a <blockquote> tag rather than a plain paragraph.
Tabular data is another element that gets flattened in plain text. If you see tab-separated or space-aligned columns, that content belongs in an HTML <table>. Forcing tabular data into paragraphs creates a poor reading experience and makes the information nearly unusable on mobile devices. Recognizing these patterns early is what separates a quick copy-paste job from professional HTML formatting.
Step 2: Map Text Elements to Semantic HTML Tags
Choosing the Right Tags
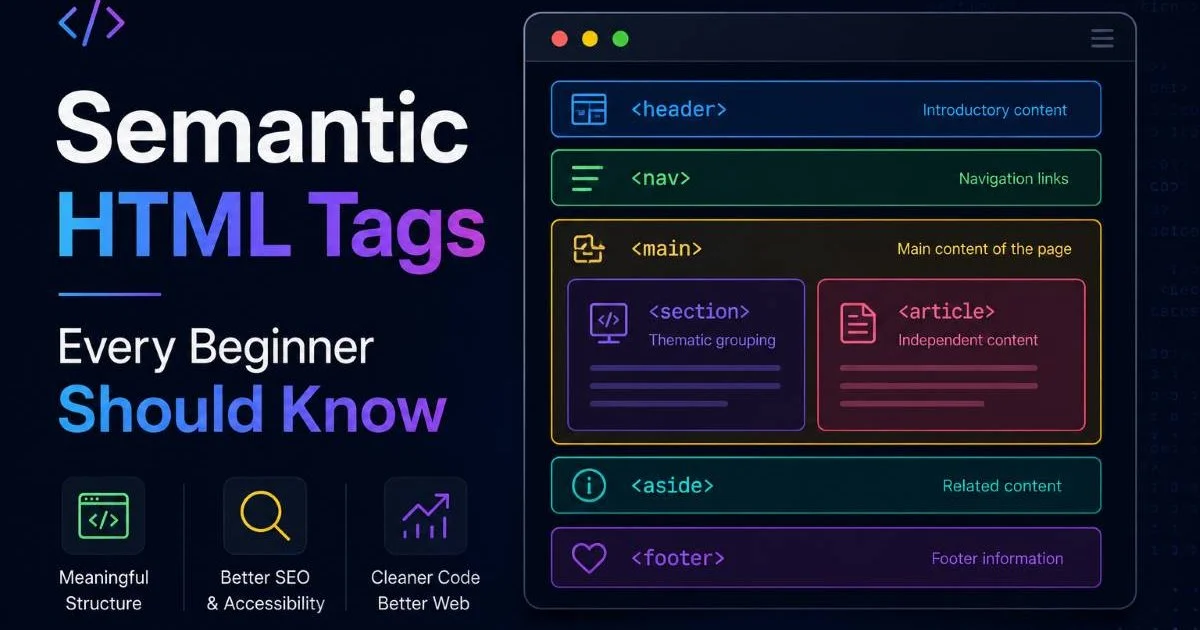
With your annotated text in hand, the next step in how to convert plain text to HTML step by step is mapping each content block to the correct semantic HTML element. Semantic tags communicate meaning to browsers, screen readers, and search engines. A <h2> tells Google "this is a major section topic," while a <div> says nothing at all. The difference matters for ranking, accessibility compliance, and long-term maintainability of your codebase.
| Plain Text Pattern | Correct HTML Tag | Common Wrong Choice |
|---|---|---|
| Title line (largest text) | <h1> | <p><strong> |
| Section heading | <h2> or <h3> | <p className="bold"> |
| Bulleted items (-, *) | <ul><li> | <p> with <br> |
| Numbered items (1. 2. 3.) | <ol><li> | <p> with manual numbers |
| Quoted text | <blockquote> | <p><em> |
| Tab-aligned columns | <table> | <pre> |
| Emphasized words | <em> or <strong> | <i> or <b> |
Understanding the difference between presentational and semantic tags is foundational. Tags like <b> and <i> describe visual appearance only. Their semantic counterparts, <strong> and <em>, convey meaning. Screen readers announce <strong> text with added emphasis, while <b> gets no special treatment. For content creators, this distinction might seem academic, but it directly affects how millions of users with disabilities experience your content.
Common Mistakes in Tag Selection
The most frequent error I see is developers using <br> tags to simulate list items instead of proper <ul> or <ol> elements. This breaks screen reader navigation and produces fragile layouts. Another common mistake is skipping heading levels, jumping from <h2> to <h4> because the visual size looked right. Heading hierarchy must be sequential for proper HTML structure, regardless of styling preferences. CSS handles visual sizing; HTML handles document outline.
Never use heading tags for styling purposes. An h3 that should be an h2 breaks your document outline and confuses search engine crawlers.
At the end of this step, you should have a clear one-to-one mapping document. Every annotated block from Step 1 now has a specific HTML tag assigned. No ambiguity remains. If you're uncertain about any element, default to the most semantic option available, and use resources on HTML code generation to verify your choices against current best practices.
Step 3: Write and Format Your HTML Markup
Manual Conversion Workflow
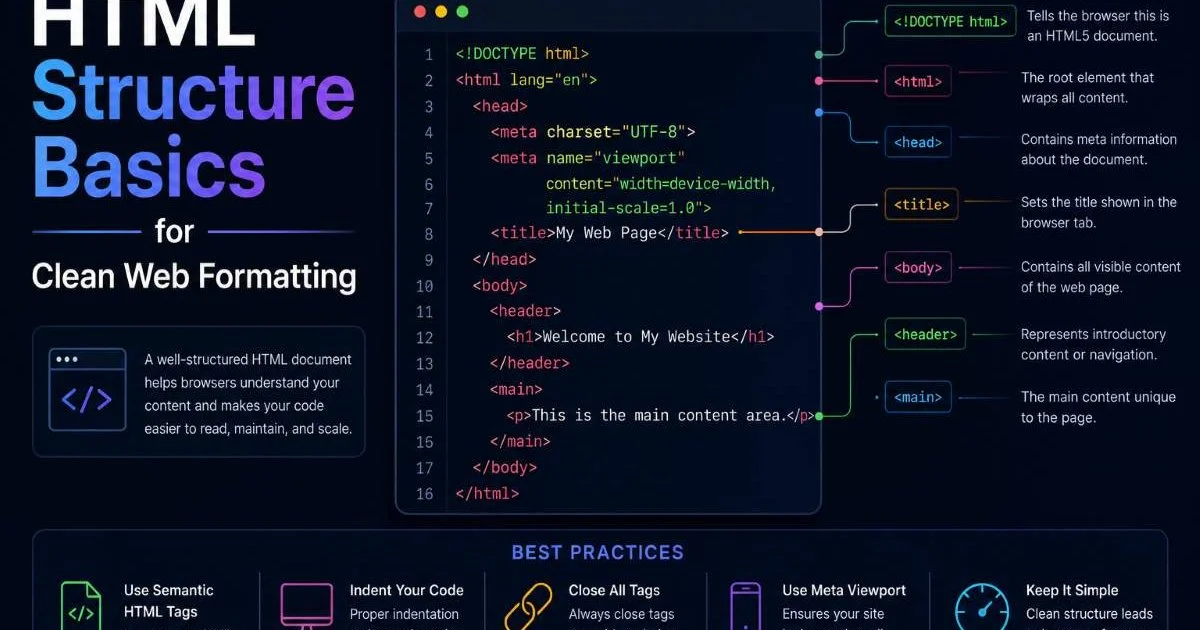
Now you write the actual HTML. Start from the top of your document and work downward, wrapping each text block in its assigned tag. Indent nested elements consistently (two or four spaces, pick one and stick with it). Group related content inside <section> or <article> elements to give your page additional semantic meaning. This text to markup process is methodical work, but the blueprint from Steps 1 and 2 makes it straightforward rather than tedious.
Handle whitespace deliberately. Plain text often uses blank lines for visual separation, but HTML collapses multiple spaces and line breaks. Replace visual spacing with proper margin and padding through CSS classes. Preserve only meaningful line breaks with <br> tags, such as inside addresses or poetry. Every other line break should become the boundary between two block-level elements like paragraphs or list items.
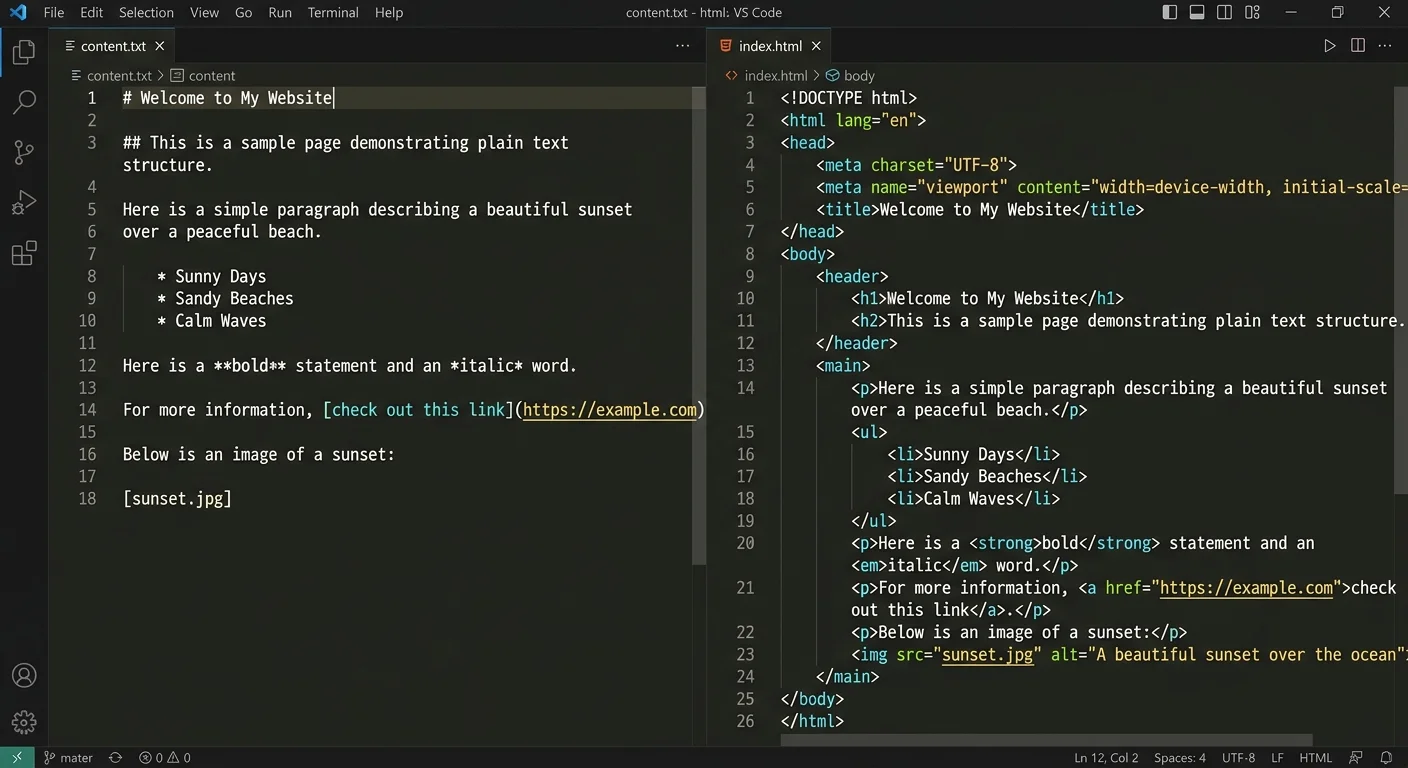
Special characters require attention during this phase. Ampersands become &, angle brackets become < and >, and non-breaking spaces need . Forgetting character encoding is a subtle bug that manifests as broken symbols in production. Run a quick find-and-replace for these common characters before considering your markup complete.
Use a code editor with Emmet abbreviation support. Typing "ul>li*5" and pressing Tab generates a five-item unordered list skeleton instantly.
Using AI Tools to Speed Up Conversion
For bulk content, manually converting plain text to HTML step by step becomes impractical. If you're processing dozens of articles or migrating an entire content library, AI-powered tools can handle the repetitive work. Tools like the best AI HTML editors can analyze text structure and generate semantic markup automatically, often producing cleaner output than rushed manual conversion. The key is treating AI output as a first draft that still needs human review.
"AI tools don't replace your judgment about semantic structure; they accelerate the mechanical work of wrapping text in tags."
You can also explore how to generate HTML text using AI tools for specific workflows like email template creation or documentation formatting. These tools excel at recognizing patterns, converting consistent text formats like changelogs, product descriptions, or FAQ pages where the structure repeats predictably. At the end of this step, you should have a complete HTML file with all text wrapped in appropriate tags, properly indented, and free of raw unformatted content.
Step 4: Validate, Test, and Refine Your Output
Validation Checklist
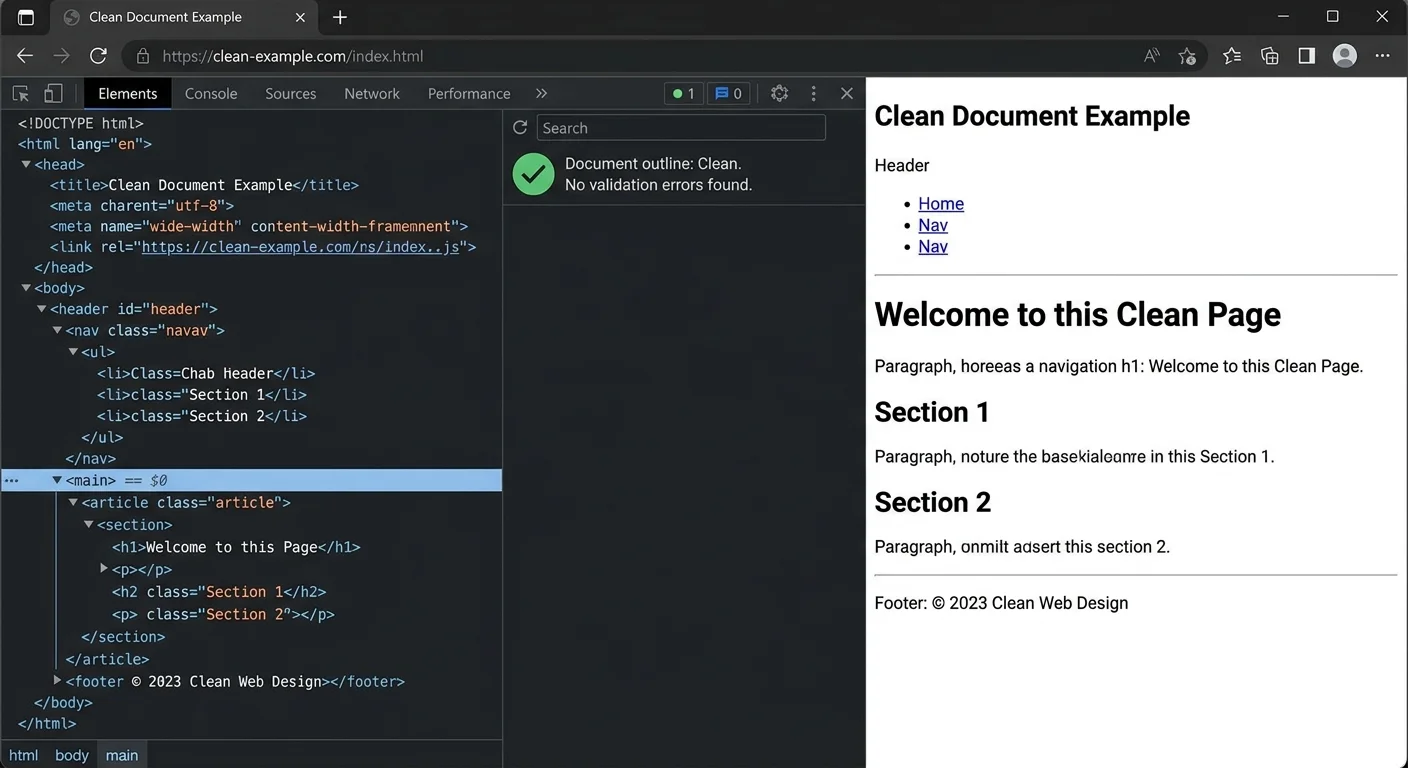
Your HTML exists, but the job isn't finished. Run your markup through the W3C Markup Validation Service to catch syntax errors like unclosed tags, mismatched nesting, or deprecated elements. Even experienced developers produce validation errors; the tool exists precisely because human eyes miss things. Beyond syntax, check your heading hierarchy, confirm that every image has alt text, and verify that all links resolve correctly.
Test your HTML in at least three browsers: Chrome, Firefox, and Safari. Rendering differences are less common than they were a decade ago, but they still occur, particularly with table layouts and form elements. Open your document on a mobile device as well. Responsive behavior depends partly on CSS, but the underlying HTML structure influences how content reflows. A deeply nested table, for example, will cause horizontal scrolling on narrow screens regardless of your stylesheet.
The W3C validator at validator.w3.org is free and catches errors that browser developer tools sometimes ignore.
Accessibility testing is the third validation layer. Use a screen reader (VoiceOver on Mac, NVDA on Windows) to navigate your document. Listen for logical reading order, proper heading announcements, and meaningful link text. If your text to markup conversion was done correctly in Steps 2 and 3, the screen reader experience should feel natural. If headings are out of order or lists aren't announced as lists, return to your mapping document and correct the tags.
What You Should See at the End
At this point, you should have a validated, accessible HTML document that renders consistently across browsers and devices. The original plain text content is fully preserved, but now it carries semantic meaning through proper HTML formatting. Headings create a navigable document outline, lists are scannable, tables present data clearly, and quotes are properly attributed. Your file is ready for CSS styling, CMS integration, or deployment to a live server. This is the complete result of learning how to convert plain text to HTML step by step.
Frequently Asked Questions
?How do I annotate plain text before writing HTML tags?
?When should I use AI tools instead of converting HTML manually?
?How long does the full four-step conversion process typically take?
?Is turning an inline list sentence into HTML list tags always the right call?
Final Thoughts
Converting plain text to HTML is a four-step process: analyze, map, write, and validate. Each step builds on the previous one, and skipping any of them introduces errors that compound downstream. The methodology works whether you're handling a single blog post or migrating thousands of pages.
With practice, you'll internalize the patterns and move through these steps faster. How to convert plain text to HTML step by step is ultimately about discipline, choosing the right semantic HTML tags for each piece of content and verifying that your choices hold up under real-world testing.
Disclaimer: Portions of this content may have been generated using AI tools to enhance clarity and brevity. While reviewed by a human, independent verification is encouraged.